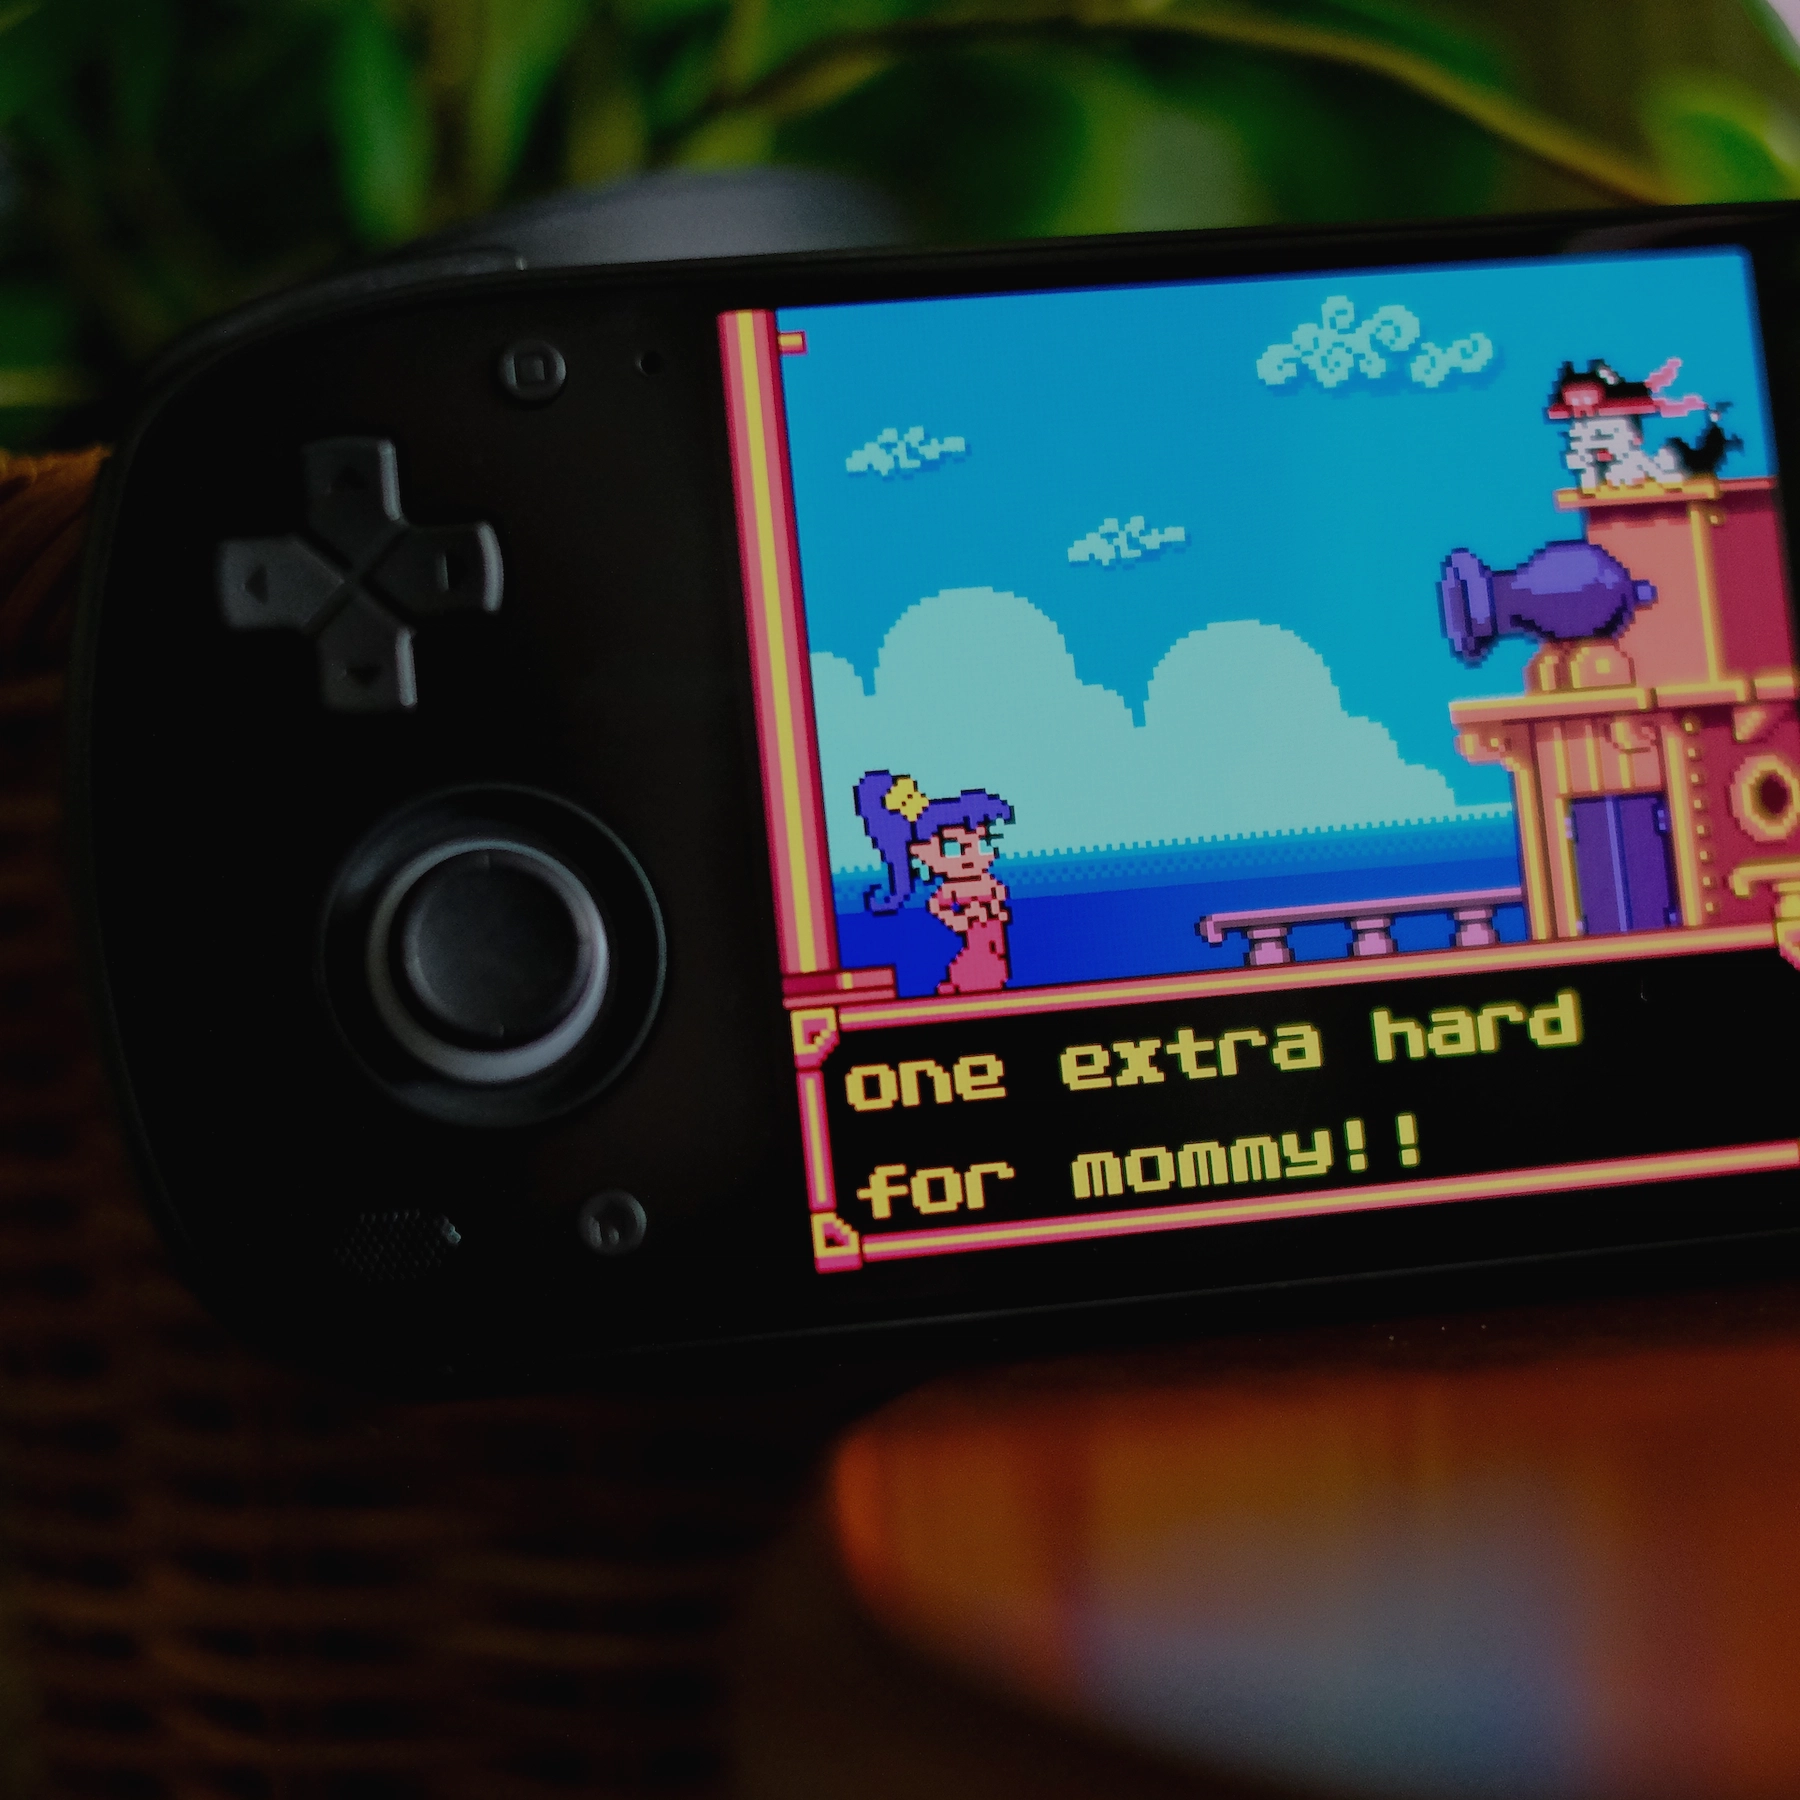
Micro devices are meant to hit one mark: being small. While they typically target low-end emulation, their size and simplicity make them especially appealing for quick, low-commitment play sessions. They fit neatly into the kind of use where you just want a short break from your day without getting pulled into something long or demanding. Devices like the Anbernic RG Nano, FunKey S, and Powkiddy Q36 Mini all aim for that same goal, just in different forms. You have an all-metal vertical, a clamshell, and a horizontal Game Gear styled design.
Since this niche is already well covered by those handhelds, their custom firmware support has largely converged around a single project focused on making the experience as seamless and intuitive as possible. That project is DrUm78’s custom FunKey OS.
Introduction
FunKey OS is the default firmware on the RG Nano, FunKey S, and Q36 Mini. The custom Drum78 firmware adds specific emulator settings that improve emulator performance, add various overall device optimization settings, and decreases load time for both the base OS and games. It’s an all around improvement.

Now, let’s install it.
Recommended Setup
Before diving into the installation, you’ll need a few things. If you’re coming from a FunKey S, you’ll need a small Torx T5 screwdriver to remove the bottom plate and access the SD card. Beyond that, you’ll just need a microSD card reader to plug into your computer or Android device.
Torx T5 Screwdriver (FunKey S Only)
Micro SD Cards
- SanDisk Ultra 32GB UHS-I/Class 10 Micro SDHC Memory Card With Adapter
- Samsung PRO Endurance 32GB MicroSDXC Memory Card with Adapter
- KIOXIA 64GB EXCERIA microSD Memory Card U1 Class 10
Micro SD Card Readers
- acer SD Card Reader USB C, Dual Slots USB 3.0 Type C to Micro SD Card Adapter
- uni SD Card Reader, High-Speed USB C to Micro SD Card Adapter USB 3.0 Dual Slots
- UGREEN SD Card Reader USB C, USB 3.0 Micro SD Card Reader 2 in 1 Memory Card Reader
Downloading the DrUm78 FunKey OS CFW
Downloading is simple, and the file size is small. On DrUm78’s repository for the custom firmware, the latest releases are hosted there.
In the Assets section, you’ll want to grab the .img file that includes your device name in the title. For example, if you’re using an RG Nano, choose the file that ends with RG_Nano.img. Powkiddy Q36 Mini, Q36_Mini.img. If you’re using a standard FunKey S, there’s no extra descriptor, it’s simply FunKey-sd-card-DrUm78.img.
Flashing the Custom Firmware
Flashing the firmware is the same process we would follow for any other custom firmware. The screenshots in the guide below pertain to macOS via Terminal, but the process is even more simple with a GUI app like Rufus on Windows or EtchDroid on Android.


In Rufus or EtchDroid, plug in your SD card using an adapter and select it in the appropriate drive menu within each app. From there, choose the Flash, Start, or equivalent option to begin the process. The screenshots above should give you a general idea of how it works. EtchDroid lets you select the SD card connected via a USB adapter, while Rufus requires you to choose the device in the Device field and the .img file in the Boot Selection field.
On macOS, we’re going into Terminal.
Open Terminal in your Applications > Utilities folder and type
distill listIt will show a list of all of your external and internal drives. Find the grouping that shows your SD card and find its disk number. For instance, here, mine is /dev/disk4. Remember that disk number, we’ll need it later.

Start with this command, don’t run it, just copy it.
sudo dd if=/path/to/image.img of=/dev/diskXX bs=4M status=progress conv=fsyncYou can probably deduce on your own that we need to replace some paths.
The easiest way to do this is to paste the above command into TextEdit. Next, drag the image file you downloaded directly into TextEdit to get its full path.
Then replace the/path/to/image.img with the path name given inside of TextEdit.
The /dev/diskXX will be replaced with the similarly started /dev/diskX we got from above. Mine is /dev/disk4, but yours may be an entirely different number.
Now, your command should look somewhat similar to mine, but probably with your name and not mine there. And probably a different disk number. Verify yours is correct.

Now copy the full command, which again, should look similar to the one above, and paste it into Terminal. Hit Enter, enter your password, and wait a bit for it to finish.
Once it’s done, pop the SD card out of your computer (or Android device if you opted for using EtchDroid).
Installing the Custom Firmware
Make sure that your RG Nano, FunKey S, or Q36 Mini is completely off first. The FunKey S has a magnetic tab that controls its on and off states, so be sure to flip it open and hold the center button to turn it off.
Once it’s off, put your SD card into the device, and hold the power button until it turns on.

This process may take a little time, but you should see steady progress as the installation moves forward. If it seems like it’s stuck, give it a bit longer. It typically finishes within about five minutes, but even if it runs past ten minutes, it’s best to let it continue.
Once complete, the firmware will be installed and you’ll be presented with the default console selection screen.

Finishing Up
Now that you’re on FunKey S, all that’s left is adding your ROMs and cover art. The DrUm78 fork of FunKey OS comes preconfigured for the specs within the RG Nano, FunKey S, and Q36 Mini. They’re all, for the most part, the same internally. I fthe specs aren’t the same, they’re all made to play the same scope of games – mild PS1 as a limit.
- CPU
- ARM Cortex A7 1.2GHz
- ARM Cortex A7 1.2GHz
- ARM Cortex A7 1.2GHz
- Chipset
- Allwinner V3s
- Allwinner V3s
- Allwinner V3s
- RAM
- 64MB DDR2
- 64MB DDR2
- 64MB DDR2
- Storage
- MicroSD Only
- MicroSD Only
- MicroSD Only
- Display
- 1.54″ IPS 240 x 240
- 1.54″ IPS 240 x 240
- 1.54″ IPS 240 x 240
- Battery
- 1050 mAh
- 410 mAh
- 1000 mAh
- Price
- ~$70 USD
- ~$70 USD
- ~$60 USD
ROMs
For ROMs, the firmware already has everything neatly organized into appropriately named folders for each console. All you need to do is drop the correct ROMs into their respective folders. Easy stuff.
Cover Art
For cover art, everything stays simple. Place the images in the same folders as your ROMs and give them the exact same name, but with the proper image extension. For example, if you have Blockage.nes, the cover art should be named Blockage.png. Easy stuff.

On macOS, getting that cover art is far easier than on most platforms. Using an app like OpenEmu, you can download cover art instantly, then run a simple script to export those images as usable files for your device. You can follow the guide for that here. Don’t let the Terminal commands scare you off, it’s nothing complicated.
Once everything is downloaded, just drag the images from your computer into the same folders where your ROMs are stored on the microSD card. Same name, same place, and you’re done.
In the End
Now we should have the custom fork of FunKey OS made by DrUm78 installed on our micro handheld, with all of our games ready to play and cover art properly attached.

Hopefully this guide served you well, and showed that setting up some of these handhelds is not only easy, but a community effort made possible by dedicated developers working to lower the steep learning curve some people still think exists. The RG Nano on its own is one of my favorite handhelds – a small, solid brick of metal that can live on a keychain. It’s incredibly portable and makes gaming something I can quickly tap in and out of. Hopefully this guide gives you the confidence to get everything set up and start enjoying it the same way.